Welcome to Moda Fabrics!
It's in the bag...
It's in the bag...
Happy Friday! And welcome to Day 2 of the Christmas in July extravaganza... okay, that might be over-stating the goings-on just a little bit but it's Friday and the sun is shining so it's hard not to be really enthusiastic.
It also helps that I really like the bag I made... more on that in a few.
It's no secret that I like putting labels on my quilts - usually sewn into or onto the backing before quilting. It makes it a permanent part of the quilt. With other things I've made, it's taken me a bit longer to include labels, mostly because I wasn't sure about size, what to include and so on. But I've gotten creative... and okay, there are a lot of products making it easier.
Pre-printed labels? Label yardage?
This has always been one of my favorites - it's from Baby Jane by Eric & Julie Comstock.
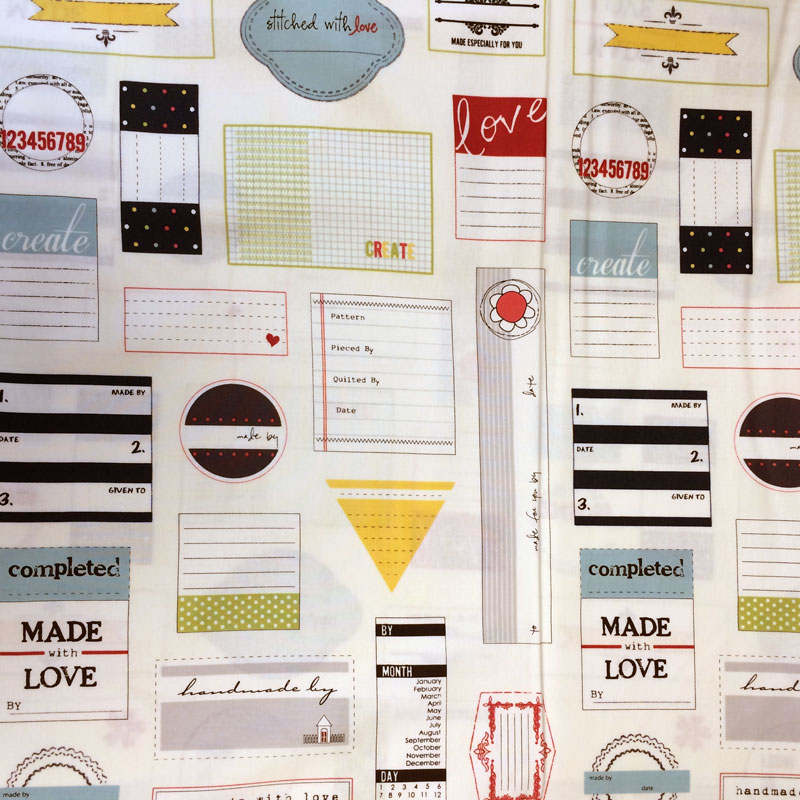
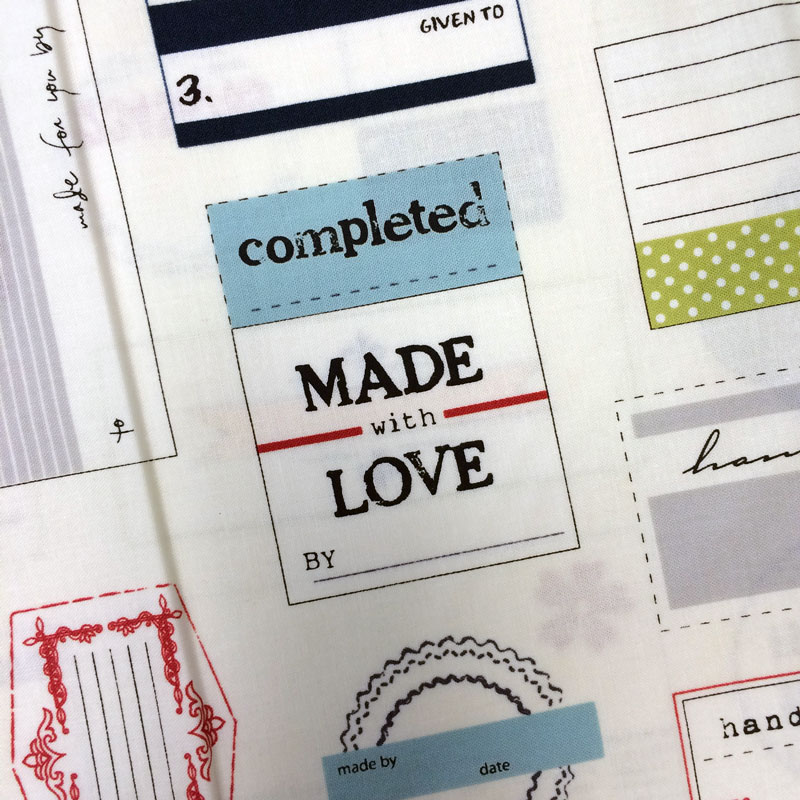
This is another favorite - Handmade with Love by Sweetwater.
Adding something as simple as this to the inside - or outside - of a bag, pillow or other small accessory is easily done and it adds a terrific personal touch.
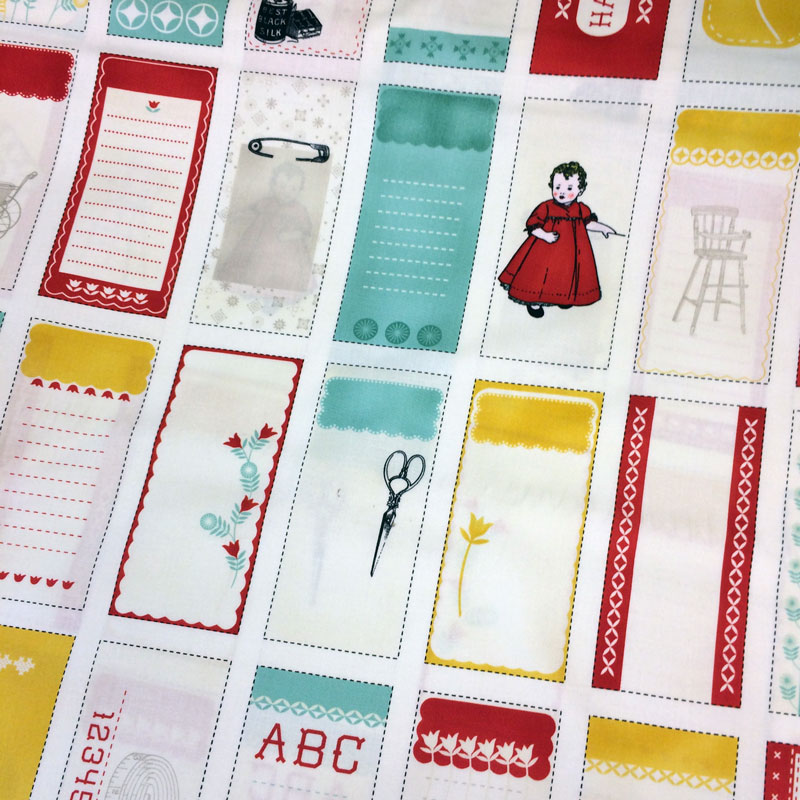
There are also label prints by French General - Souvenir Labels, and Sweetwater also has a terrific label print in Holly's Tree Farm. I also love using this yardage as a quilt backing for big and small quilts - and it's not an idea I thought of. Folks have pieced lengths of label prints, had it quilted and asked guests at weddings, graduation parties and such to sign the quilt. (Both of the collections mentioned are in stores now.)
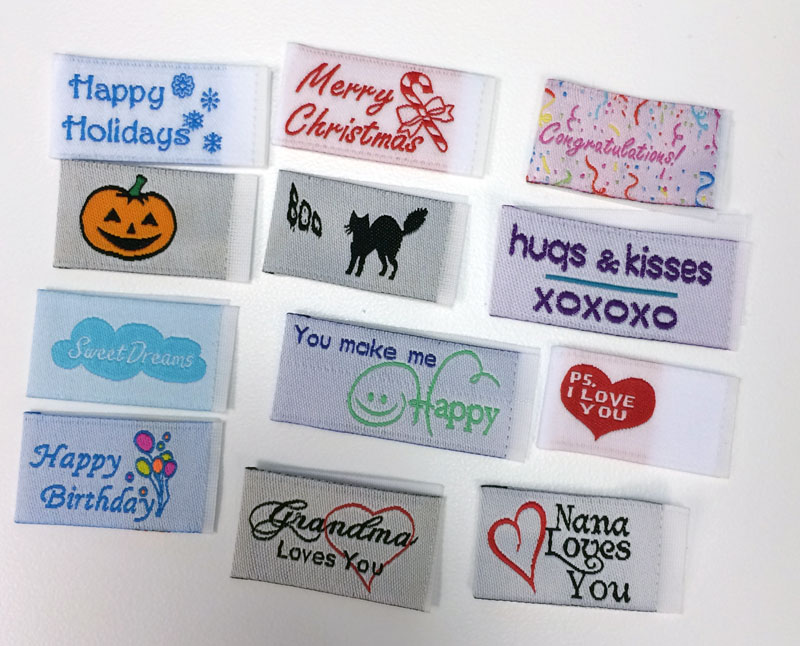
If it's a small project, or only a small label is needed, how cute are these?
They're called Tag It Ons and they're a folded woven label that measures less than 3/4" wide by no more than 1 1/4" long. They're sewn into a seam on the inside or outside, and can be easily sewn into a binding for a perfect finishing touch.
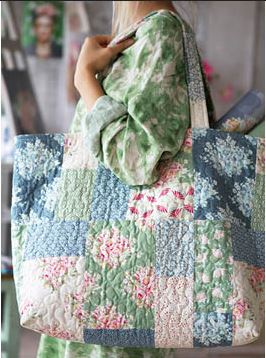
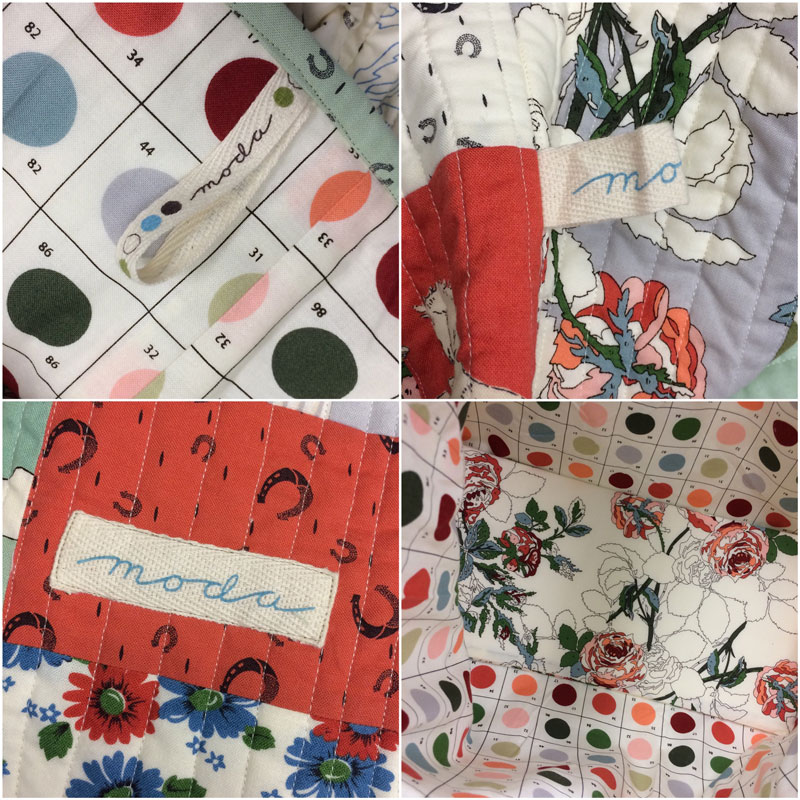
The other reason I'm mentioning labels and tags is that I included a few on the bag I made - Tilda's Summer Bag. I think it would make a terrific gift and it's easy enough to get one - or a couple - made before the holidays. (It's a free pattern available on Tildas World - the blog for Tone Finnanger, the amazing Norwegian craft designer.)
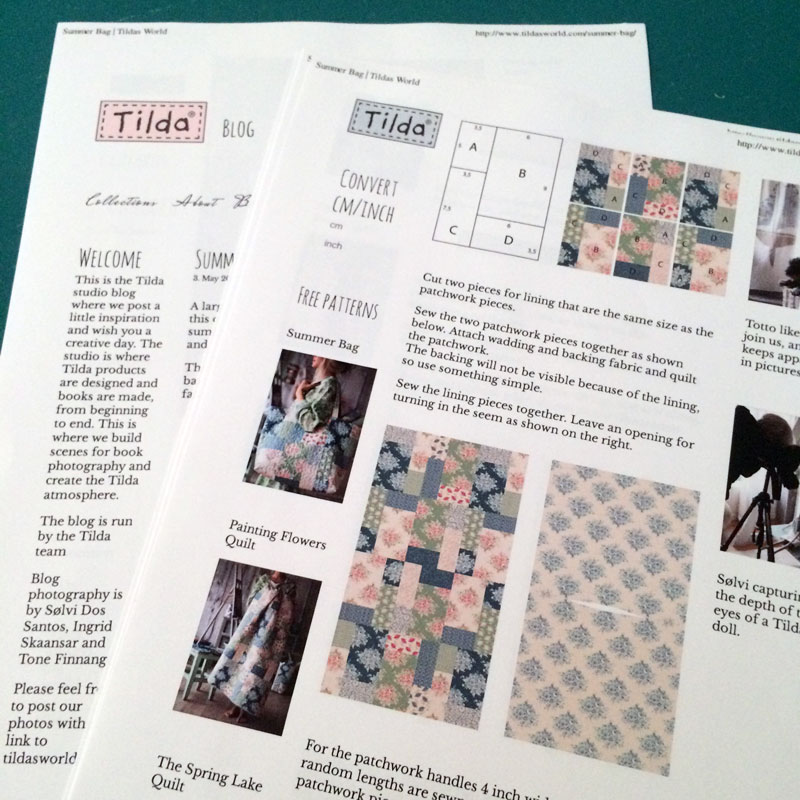
While this would work with scraps or fat quarters, it will also work with a layer cake... maybe something like Purebred by Erin Michael.
Before I go on... you should know I made a change or two. Can you hear it? If you listen closely, that sound you hear is the raucous laughter from several of the ladies I work with. When I suggested that I might have deviated from the pattern slightly, they not only started laughing, it was suggested that they'd have considered calling paramedics if I hadn't. I have a feeling that this part of "rookie hazing" isn't going to ever go away.
So what did I change?
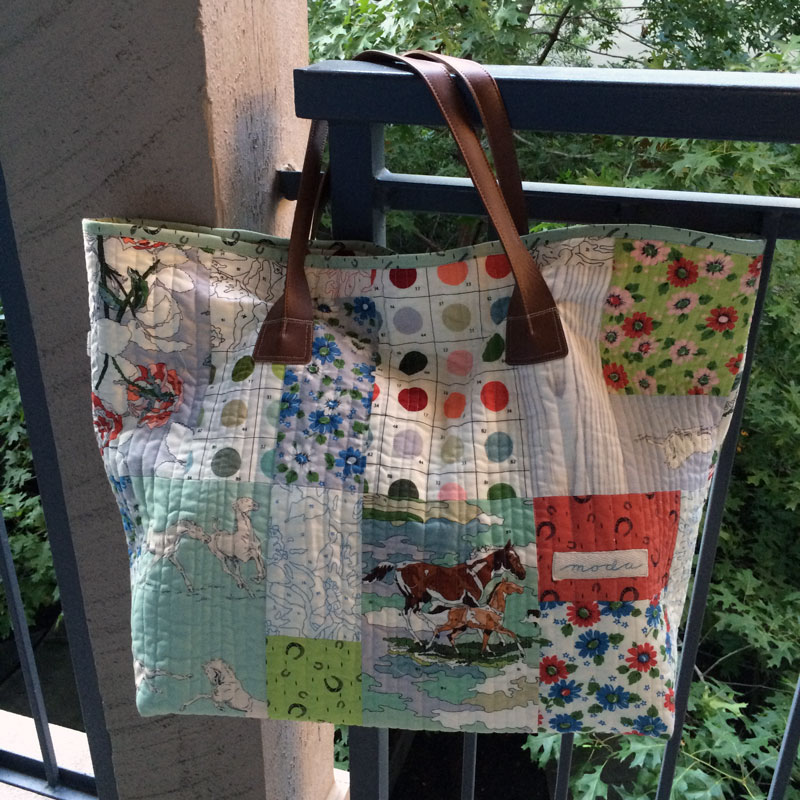
The handles - folded "leatherette" bag handles from Emma Creations. Size - the bag is big. BIG. After piecing the full panel and quilting it, I decided to cut off the top row of rectangles - about 3". I also made the box-corners a bit larger - 3 1/2" x 3 1/2" square cutout. And I finished the top edge with a machine-stitched binding instead of stitching the two layers together, pulling the one layer through and so on.
Other than that, my bag is exactly the same.
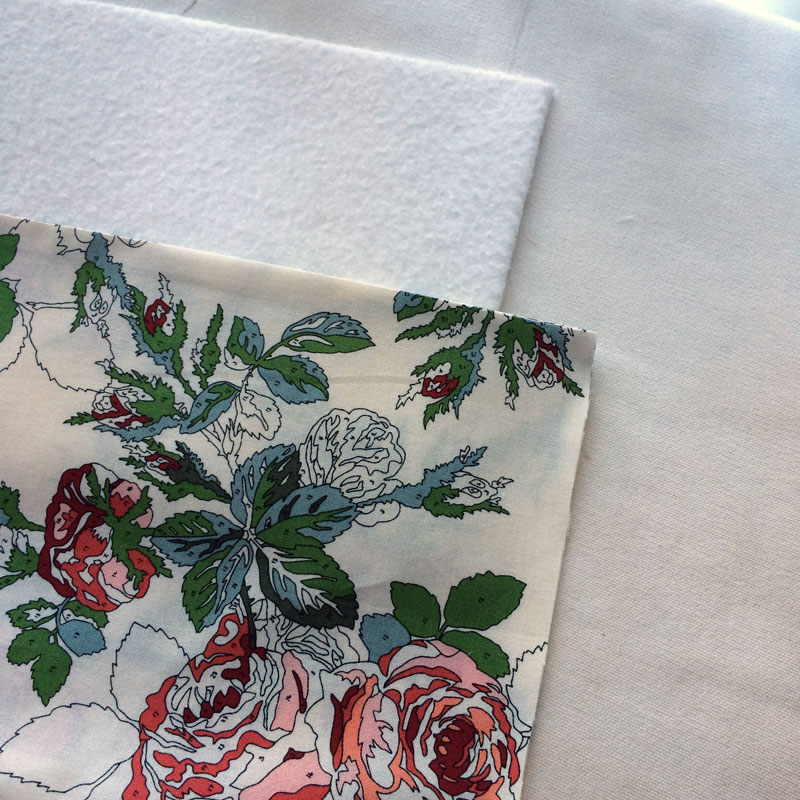
It's quilted with Tuscany Bleached 100% cotton batting and a layer of muslin.
I considered using Soft & Stable to give the bag a little bit more stability but I wanted something soft, packable and easy to keep in the car.
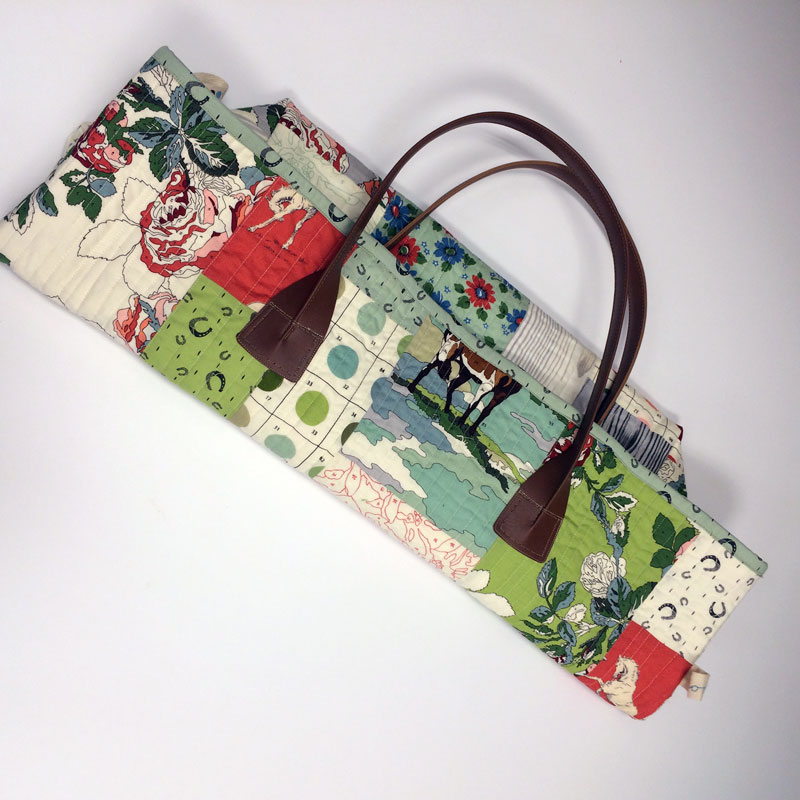
It folds up nicely, don't you think? And it's very lightweight.
To finish the top edge with a binding, the outer layer is pieced, quilted and assembled, and the corners boxed. The lining is then assembled and the corners boxed, then it's placed inside the bag with wrong sides together. The top edges are pinned and stitched with a scant 1/4" seam allowance. Then a regular double-fold binding - cut at 2 1/2" wide - is attached in the same way that you would for a quilt binding.
Because I wanted the stitching to show, this binding was sewn on the "back" - the inside of the bag - and folded over to the front. It works just as well the other way and stitching in the ditch to catch the binding on the inside. It's simply a choice of how you want it to look when it's done.
Labels! See - I was coming back to this. I used some of the Moda twill used to tie up pre-cuts for a few embellishments. (Why yes, I save it and yes, I have more of it than I will ever measure or admit to having. I know I'm not alone on both!)
The base of the bag! Okay, that's one other thing I changed - added.
It's easily done with my use-it-all-the-time-for-everything illustration board is cut to the size of the base - the width is the size of the finished "box corner" and the length is the bottom from one corner-seam to the other corner-seam. (Mine measured 7 3/4" x 16".)
Cut 2 pieces of fabric - 2" longer and 1 1/2" wider than the size of the illustration board. Then cut 1 piece of thin batting - 1" longer and 1" wider.
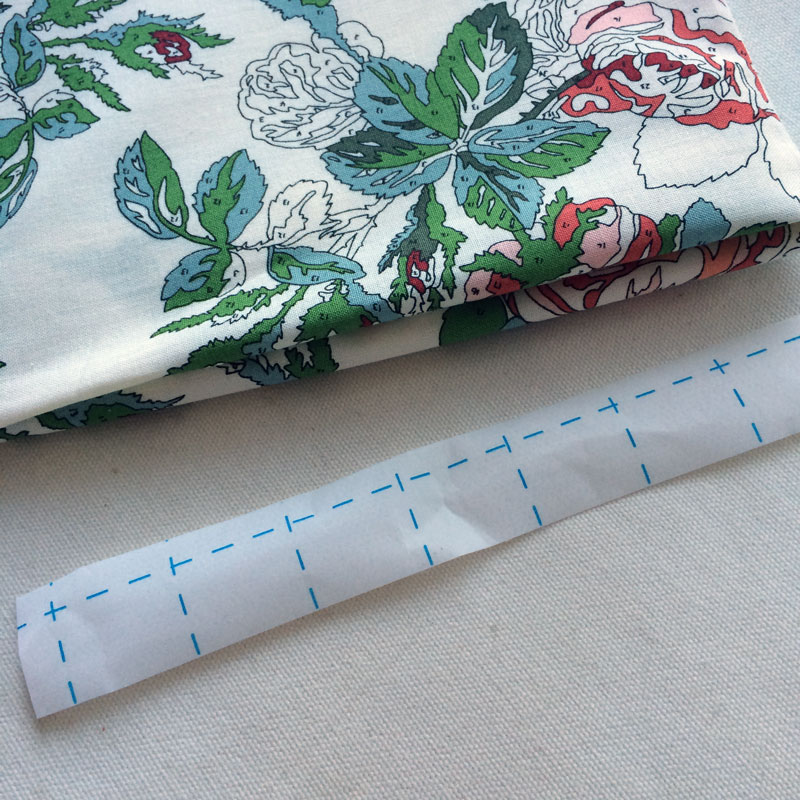
I fuse a piece of Steam-A-Seam Lite to the wrong side of the batting and then fuse the batting to the illustration board. It makes it a little softer - not quite so hard and rigid. Center the illustration board on the batting and then fold over the edges to the back. Press-steam it to adhere. Neat is nice but since it's going to be covered by the fabric, don't worry if it's not perfect. (It's easy to gunk up the iron with the fusing so I always keep a couple of dryer sheets handy - use them to de-gunk the bottom of the iron.)
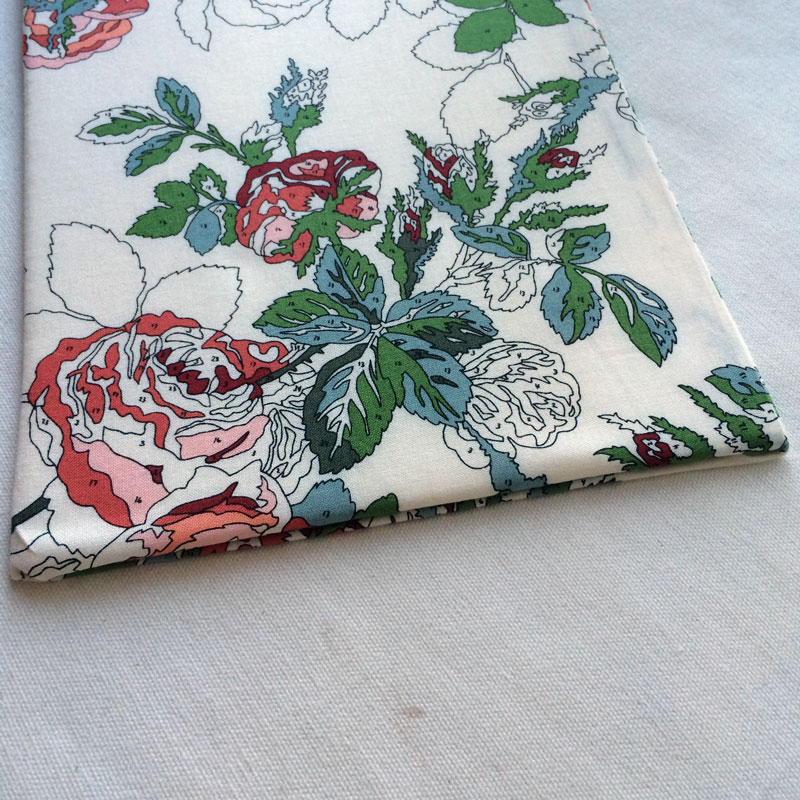
Layer the two pieces of fabric right-sides-together. Using a 1/4" seam allowance, stitch around three sides of the fabric to make a sleeve. Turn it right-side-out and press.
Slide the batting-covered-illustration board inside the sleeve.
Fold the open end inside the sleeve.
The edge can be slip-stitched closed... or I used a left-over strip of Steam-A-Seam to fuse the end closed. (I've learned from experience that this part of a bag always gets dirty and easy-opening makes it easy to throw in the washer with the bag. Just saying.)
And done. This is simply placed in the bottom of the bag to give it a flat base.
I'm definitely going to make this bag again... any bets on whether I'll make it according to the pattern? Or will I make other changes?
I hear laughing...
I hope you have a great weekend!


Comments