Welcome to Moda Fabrics!
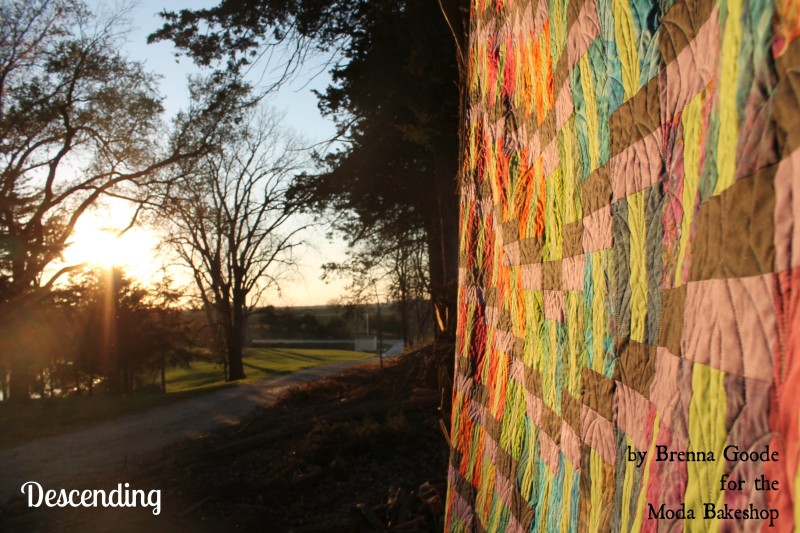
Descending Quilt
Descending Quilt
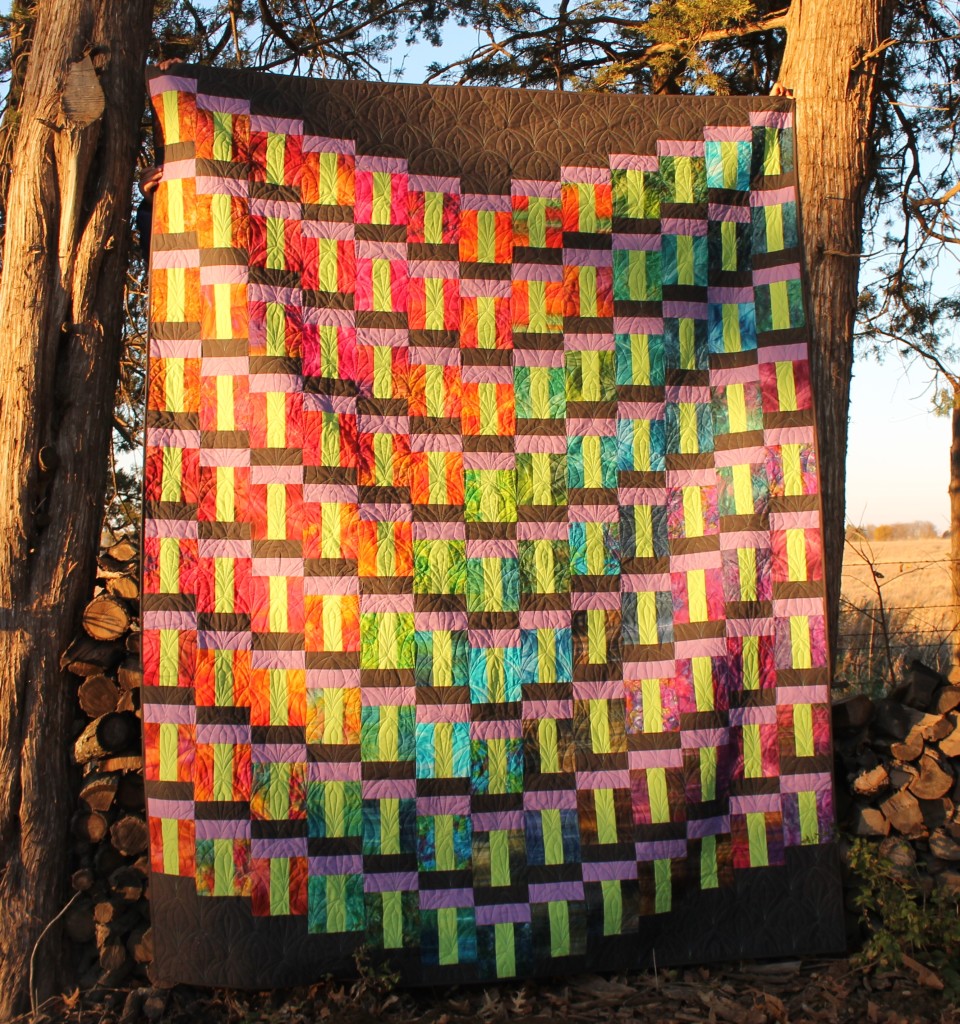
Hello! I'm happy to be back at the Bake Shop, this time with a vibrant and colorful Jelly Roll® quilt. One of my goals for this year was to be more bold in my color and fabric choices - mix lines, include more solids and non-neutral backgrounds, and so on. I have to admit, when I first saw these together, I thought I might have gone a little too far, but I ended up loving the result, and I hope you do to!
This yields one generously twin sized quilt, measuring 78" x 102".
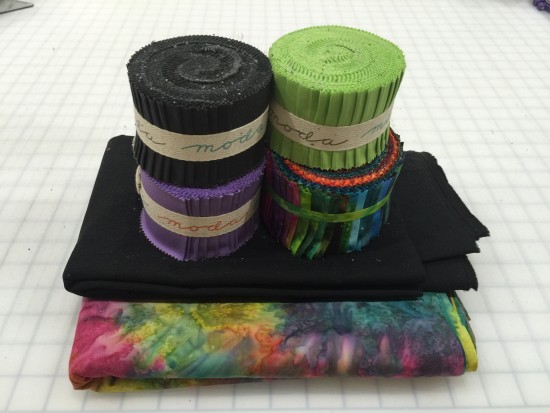
1 Tropical Punch Batiks Jelly Roll®
1 Junior Jelly Roll® in Bella Solids Charcoal
1 Junior Jelly Roll® in Bella Solids Lime
1 Junior Jelly Roll® in Bella Solids Lavender
2 yards Bella Solids Charcoal for background and binding
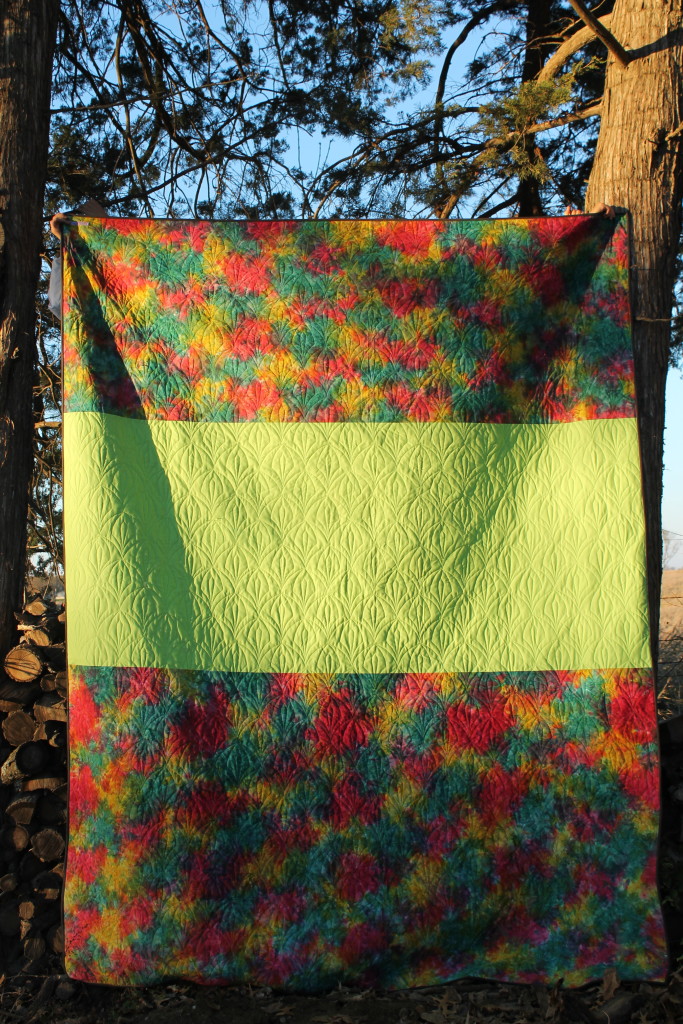
6 yards backing fabric (I used both the batik shown and additional lime yardage)
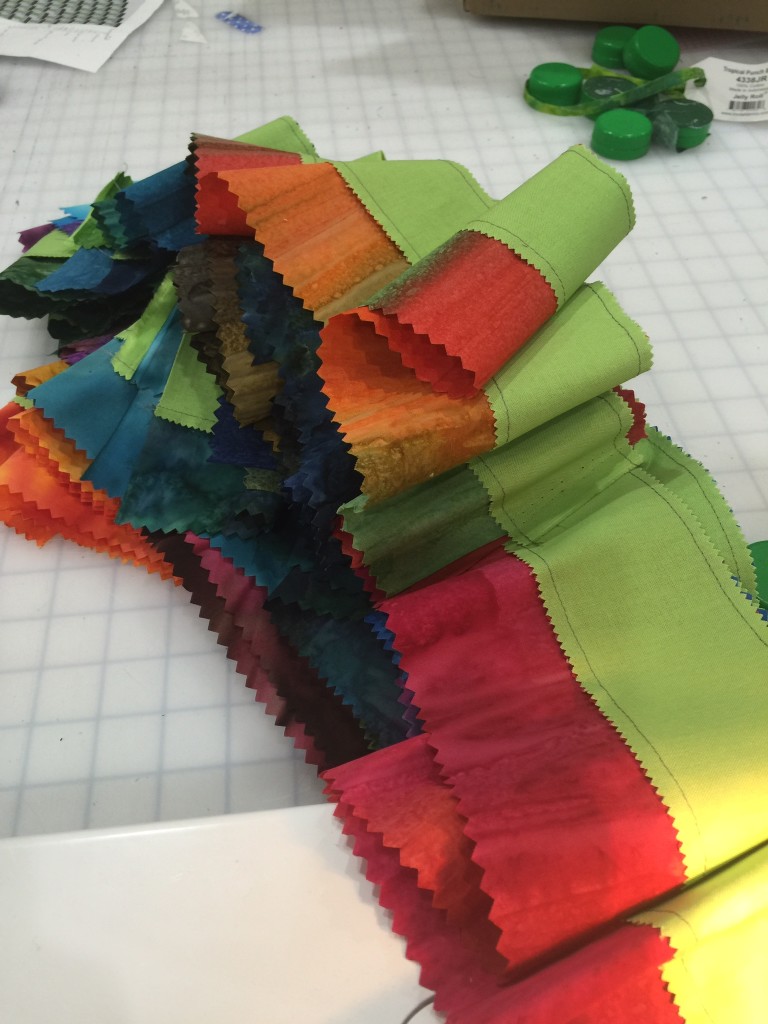
Because of the jelly roll strip construction, this quilt goes together remarkably quickly. There is also almost no excess from the Jelly Rolls, so cut carefully!
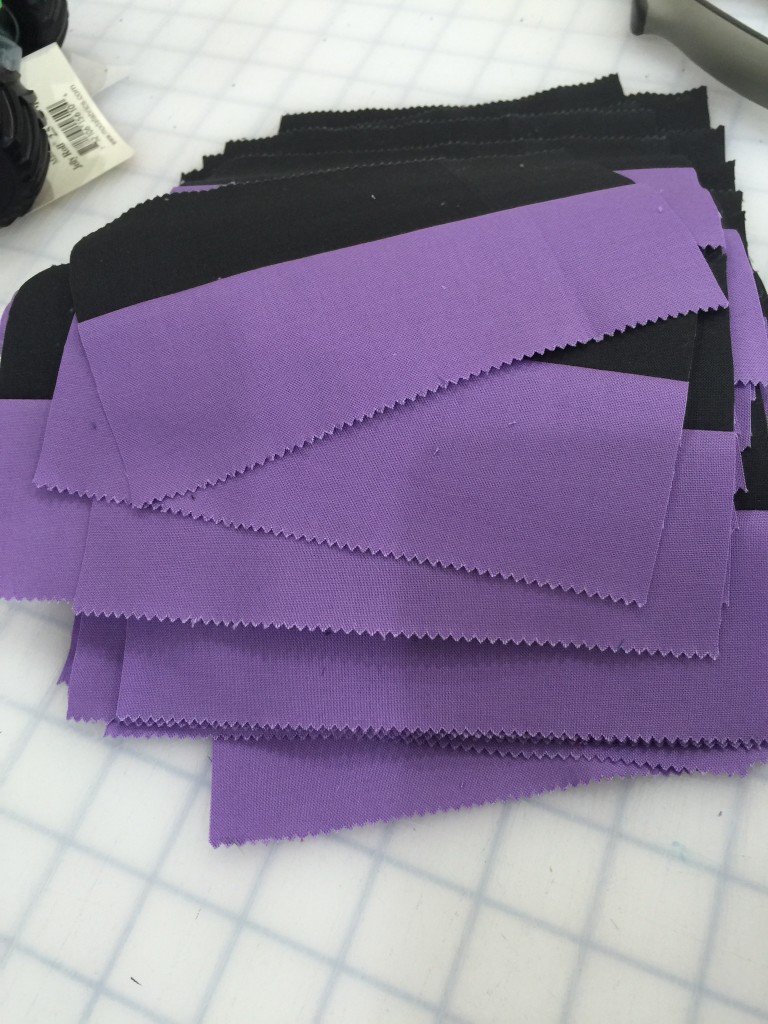
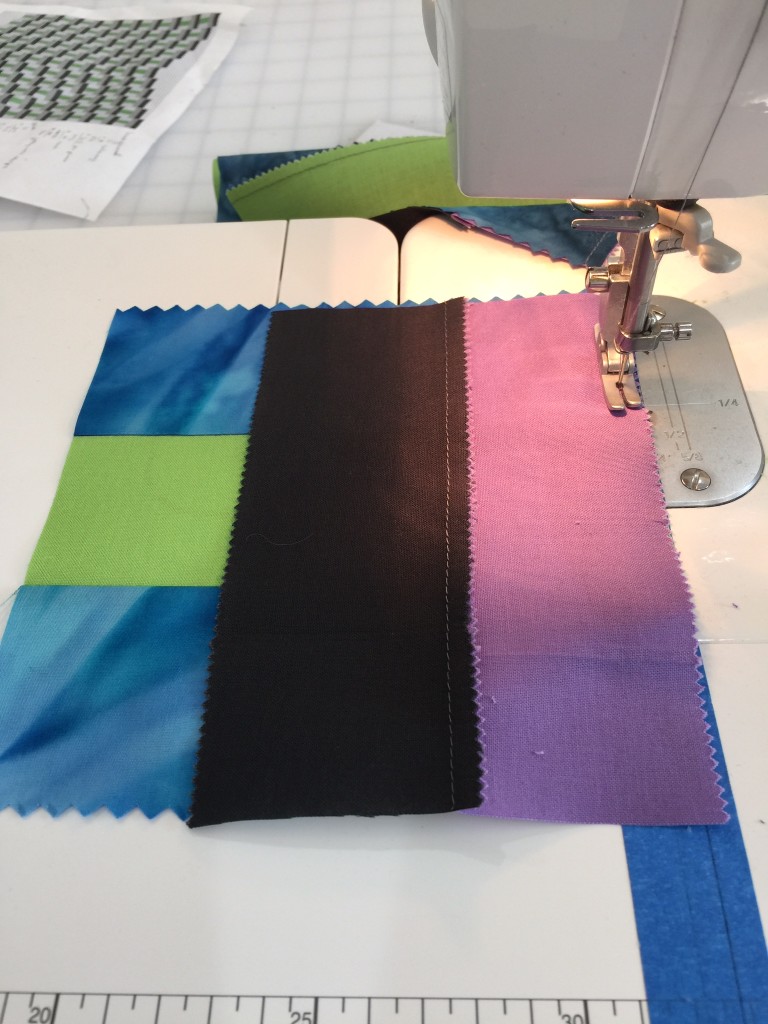
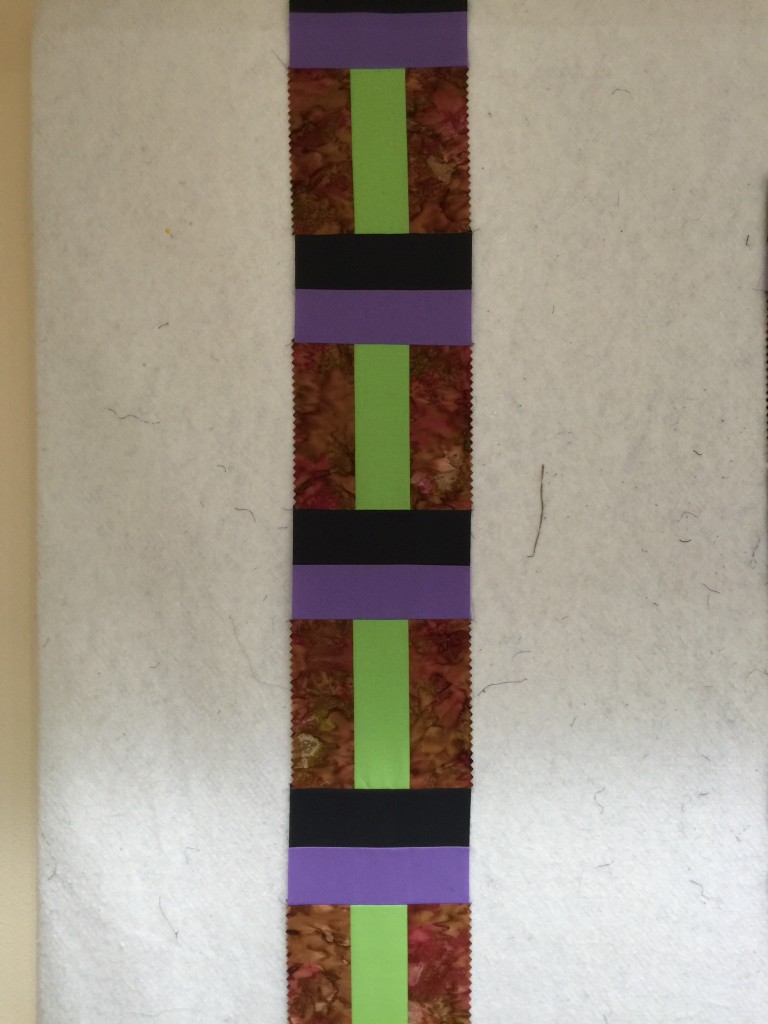
First, take your charcoal and lavender Jelly Rolls, and sew strip sets of one each. Press to the lavender. Cut into segments 6½ inches long.
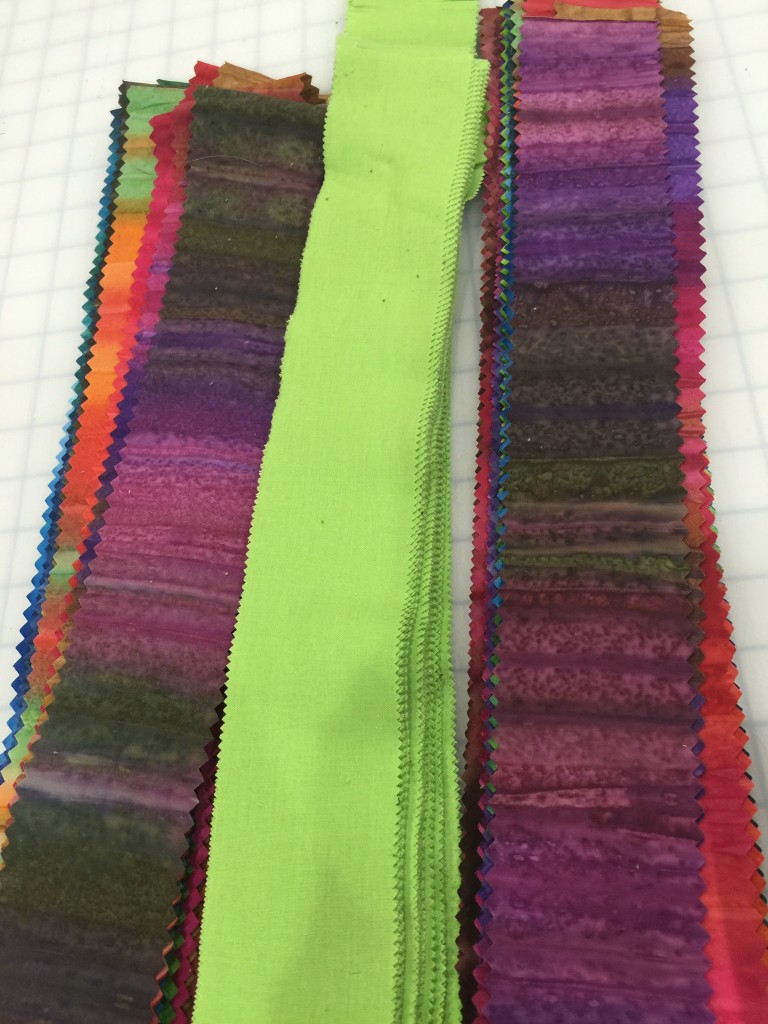
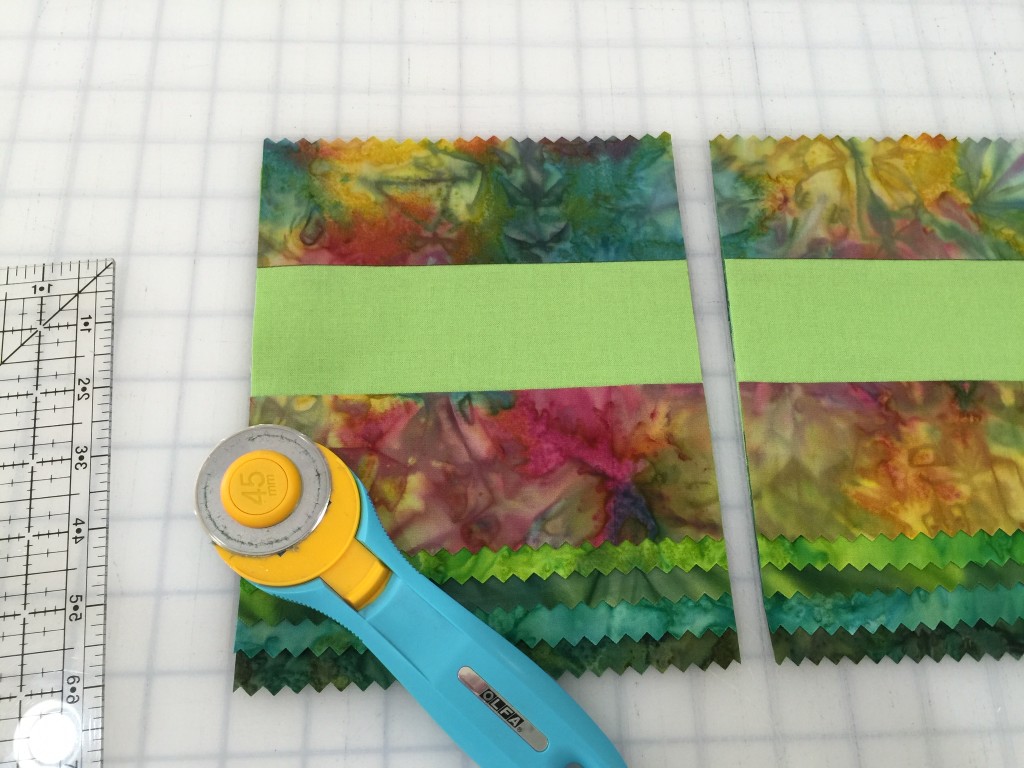
Take your lime Jelly Rolls, and cut all of the pieces in half.
Take your batik Jelly Roll, and again cut each piece in half, but keep the two pieces together.
Sew a matching piece of batik to each side of the lime strip.
Press seams away from the center. Cut into segments 6½ inches long.
Take a purple and charcoal segment, and sew it to the end of a batik and lime segment, with the charcoal strip at the top. Repeat until you've used up all of the segments.
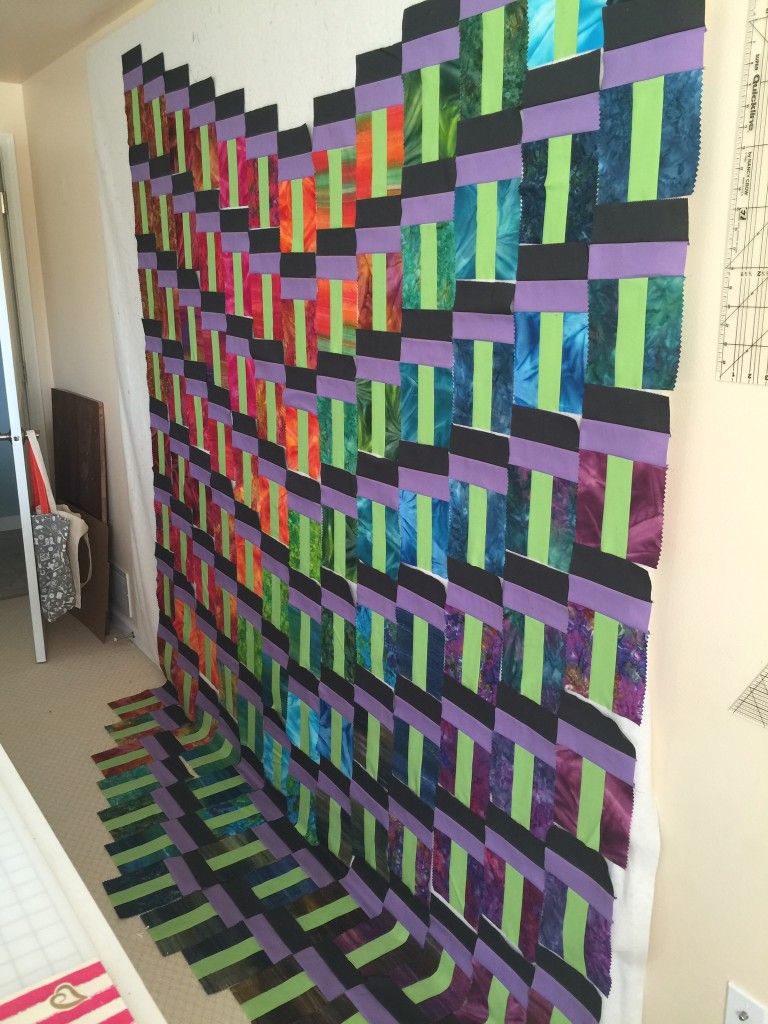
Now for the layout! I experimented with a couple of options. One is to just go scrappy, but I elected to do a bit of a colorwash effect. I started with the browns in the upper left corner, then worked diagonally through purples in the lower right.
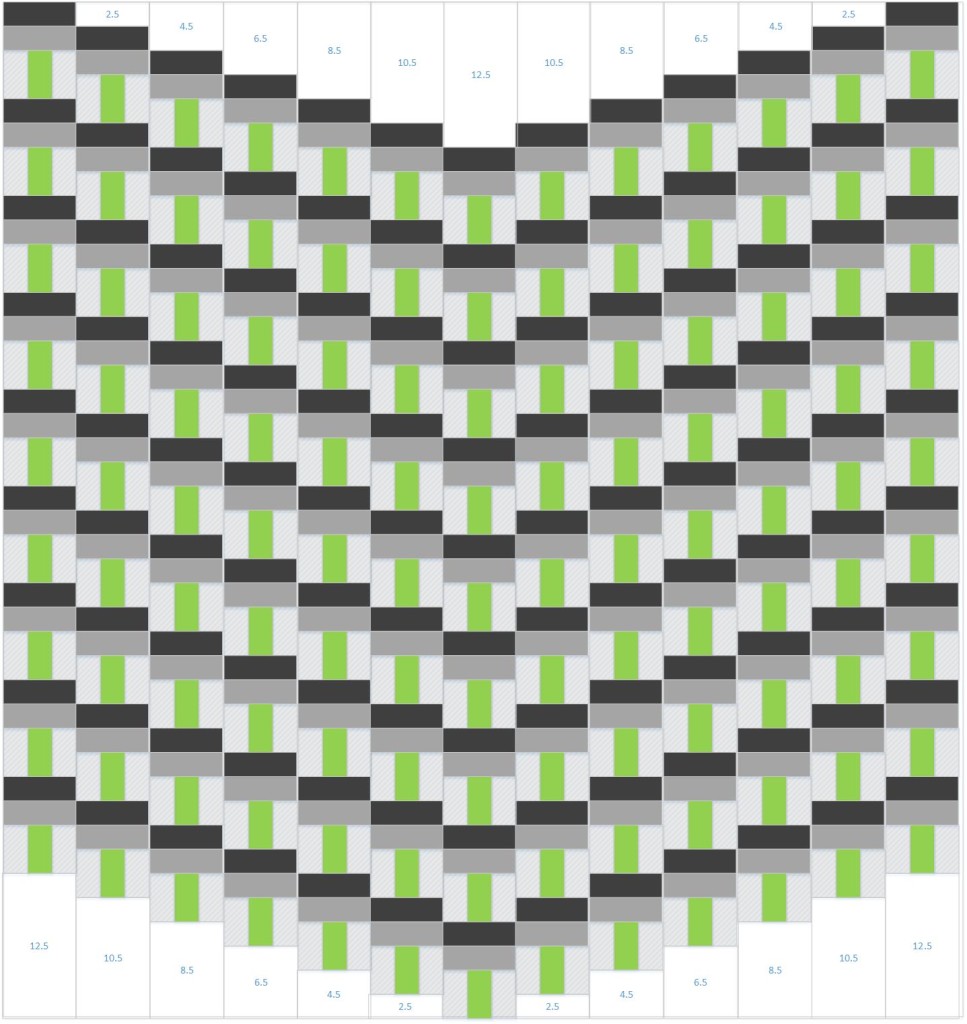
Lay them out in columns of 9 pieces, and you'll get 13 columns. Each column will start 2½ inches below the one to the left, so offset by the width of the top jelly roll strip, until you get to the 6th column, then they will start moving back up, so they'll start 2½ inches above the one to the left. You'll have three left over.
Once you've got your layout set, sew each column together.
Take your background fabric, and cut into (5) 6½ inch x WOF strips. Subcut into
4 - 2½ inch pieces
4 - 4½ inch pieces
4 - 6½ inch pieces
4 - 8½ inch pieces
4 - 10½ inch pieces
3 - 12½ inch pieces
Using the following diagram, sew pieces to the top and bottom of the columns (or just to the bottom on the outer columns, and just to the top on the center column). Sew all of the columns together.
Quilt as desired, and bind with the remaining charcoal solid using your preferred binding technique.
This quilt finishes at 78" x 102".
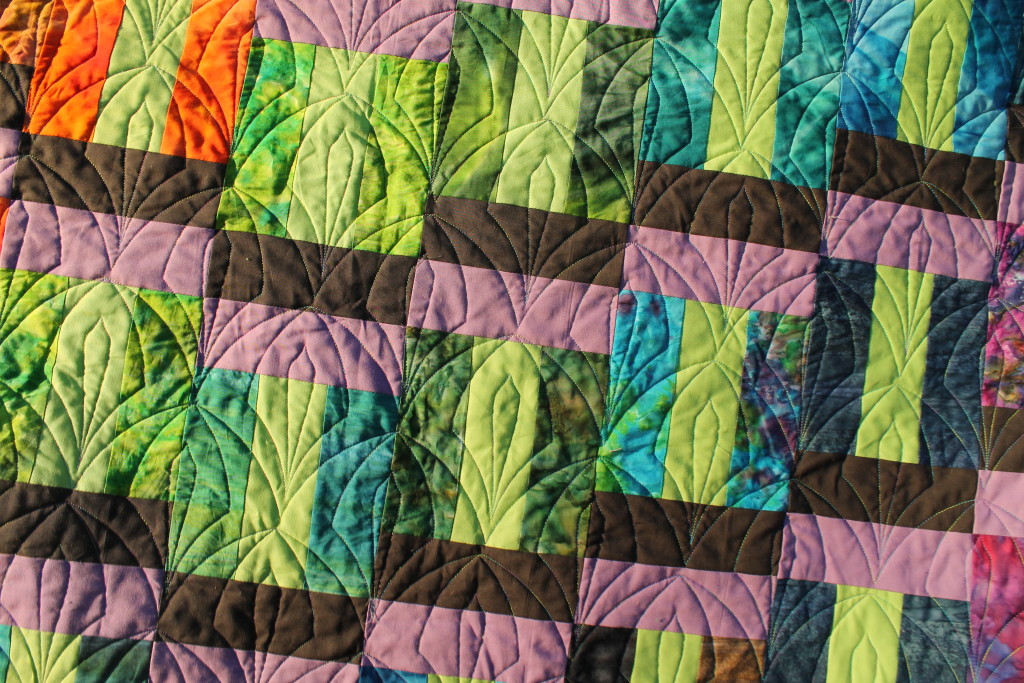
My quilter, Mary of Round the Bend Quilting, used a vertical design whose width matched the strips, and a variegated thread.
For the backing, I used the batik yardage, with some additional lime yardage thrown in.
Brenna Goode
{Quilting in the Heartland}

